The Martin Scorsese movie The Aviator follows the life of aviation mogul Howard Hughes through different periods of his life. The director wanted the color look of the movie to reflect the period in which the story was taking place. To achieve this while still using modern cameras and post production techniques, they had to do some pretty cool tricks to emulate the old 2 Strip and 3 Strip Technicolor film. Seeing the breakdown of this process got me thinking about mixing color in digital media.
When you’re working for film, video or web media, your final product is always in an RGB color space. So if we take a picture of an adorable pitbull puppy…

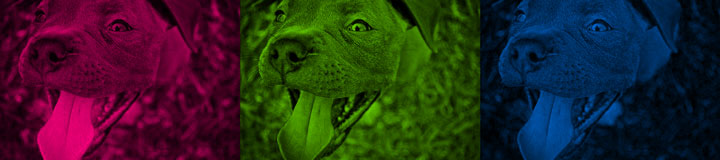
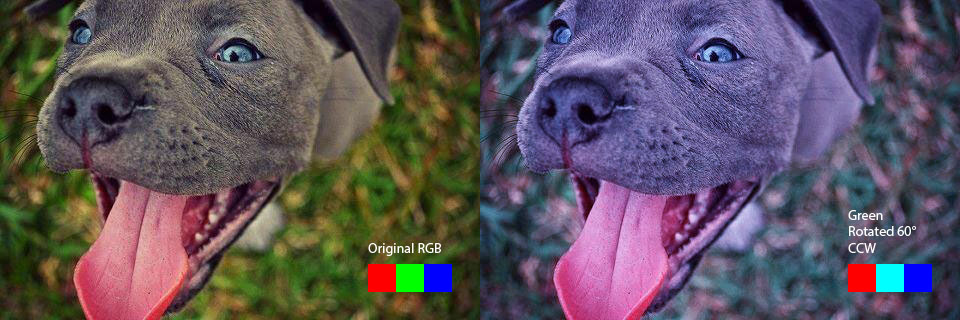
…and break it into our Red, Green, and Blue channels we get this:

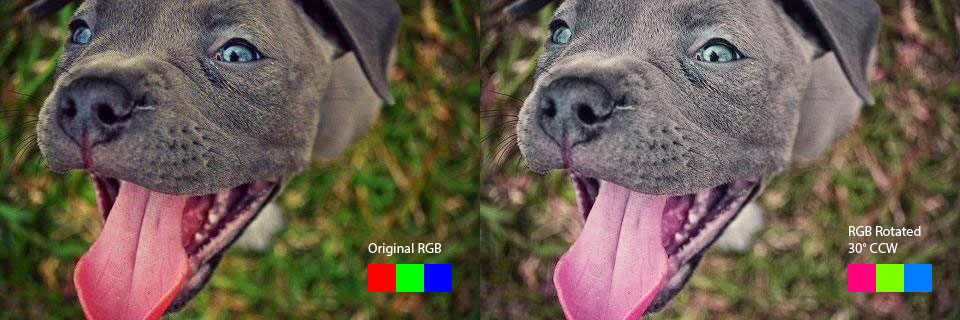
If you were working on a painting, you could use whatever colors you want to start mixing your palette. Why should digital media be any different? So if we take those RGB channels and rotate the colors slightly on the color wheel, we get these three new channels:
Since you’re starting from a different three colors when you mix them back together you get a different feel:
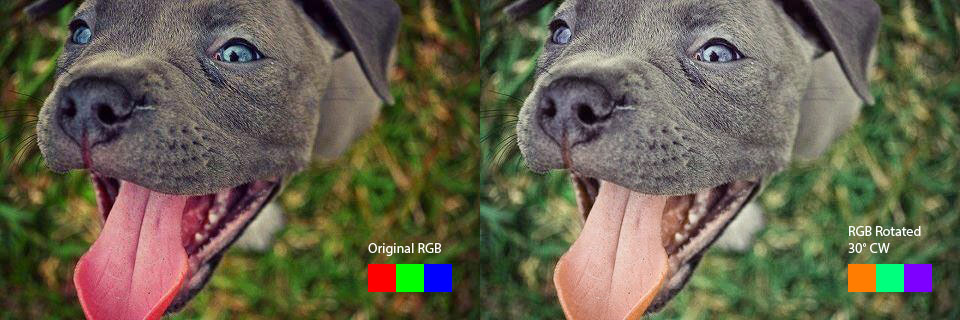
Change the RGB in the other direction and you get this:
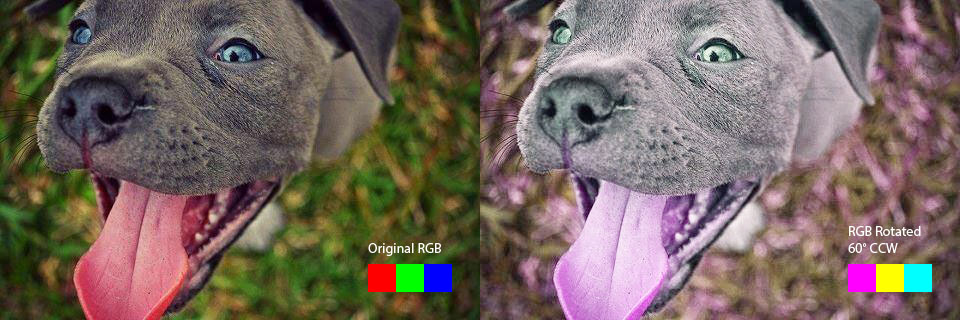
Doing a global change like this on all channels has a limit. If you go too far, it just looks weird:
Maybe only altering one color channel can be a more subtle effect:

And if you’re only messing with one color, you can push it a lot further without breaking it:
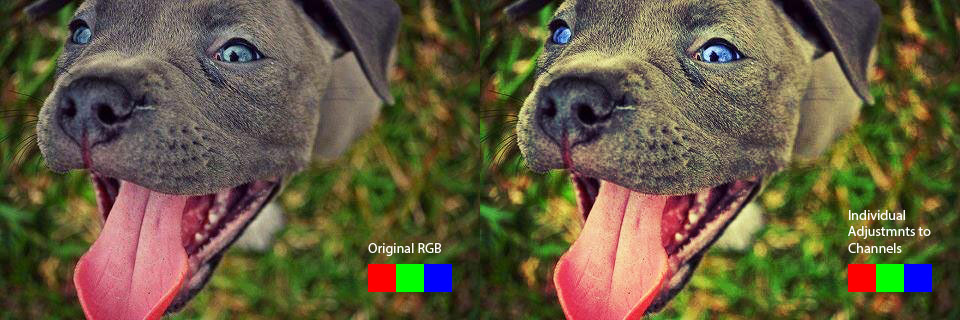
So far that’s just working with color channels to change the base color. But since you’re working with the channels individually, you can also tweak those channels individually. Even without changing the palette, this can be pretty interesting:
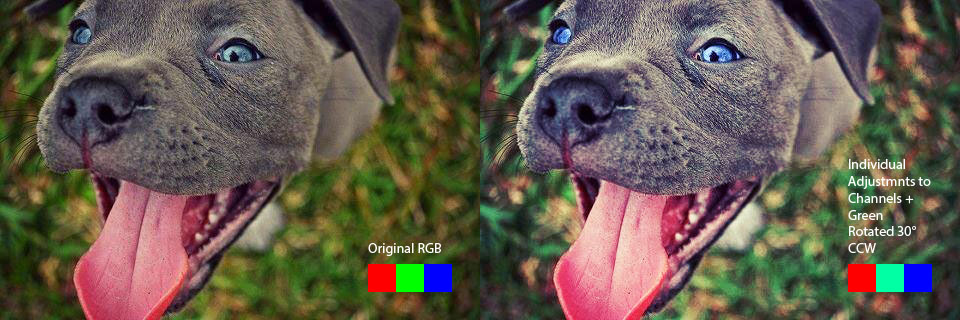
Then combine the idea of adjusting the channels independently and altering your palette:
That’s all cool, and opens up a lot of possibilities, but you’re still working in an RGB color space. What interested me about what they did on The Aviator was emulating other color spaces. Since I used to work in graphic design, I tried messing around with CMYK in After Effects.
After Effects doesn’t have an option to work in CMYK because that color space is only used in print design. To emulate that color space you have to mix your Red, Green and Blue channels to create Cyan, Magenta, Yellow and Black.
How I got there was to use the Set Channels and Arithmetic effects to mix my RGB channels in the correct proportions, and then Colorized those layers to create pure Cyan, Magenta, Yellow and Black channels. This is what I ended up with from After Effects:

It’s not precisely the same as a real CYMK version, but it’s not bad for a fake. Also, since it was done in After Effects, you could easily achieve the same effect with video. Here is a segment of a documentary about Wing Chun I found on You Tube:
And the same section in a fake CMYK color space:
Of course that idea of changing the colors you’re mixing applies to CMYK as well.

Come to think of it, why should we be limited to four colors?

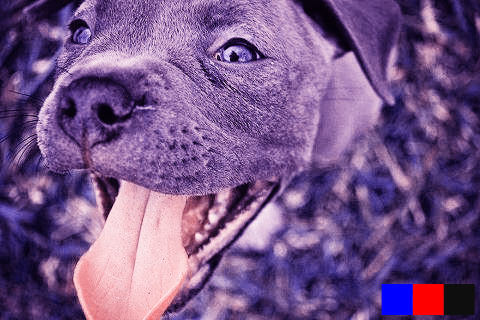
If you felt like being minimalist, you could move into CMYK, replace Cyan with Blue, Magenta with Red, and throw away the Yellow all together:
Like a painter, you can add detail and variety with more colors and more specific colors; or you can strip out what’s unnecessary and make yourself work in a limited way.